Connect the Zune with the Zune software
After installing the Zune software, you need to add a registry setting in Windows and update the "hosts" file in Windows. This will ensure that your Zune can communicate with the Zune software without encountering errors or freezing.
Add a registry setting to Windows
Since the Zune software was created and optimized for Windows 7, there seems to be an issue with Windows automatically adding the necessary registry settings. In this step, you'll add a setting to the registry in Windows.
Go to Zune Update - TOOLS. Then, click ZUNE-APP-SETTINGS-REG-FILE.ZIP, and specify a folder to save the file to.
Go to the folder where you downloaded the ZIP file to. Right-click ZUNE-APP-SETTINGS-REG-FILE.ZIP, and select Extract All. In the wizard, click Extract. A registry file will be extracted.
If you're worried about the contents of the file and are comfortable checking what will be add to the Windows registry in the next step, you can open the file in Notepad++ to check its contents.
In the extracted folder, double-click Zune Configure App Settings.reg.
If Windows prompts you about applying this registry setting, click Run to allow the file to be added to your registry.
When the warning appears, click Yes.

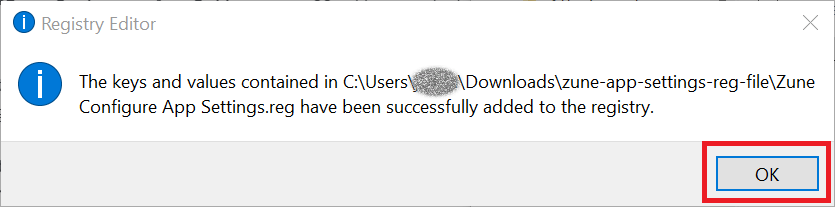
When the confirmation window appears, click OK.
Update the "hosts" file in Windows
Since Microsoft decommissioned the server that facilitates communication between the Zune and the Zune software, you need to force the software to recognize the device. You can do this by tricking the software into thinking the server is still available.
Open File Explorer. Enter %SystemRoot%\System32\drivers\etc in the address bar, then click Enter.
Right-click hosts, click Open with, then select Notepad++.
At the bottom of the file, add the following to a new line:
66.115.173.227 resources.zune.net
Save the file.
When saving the file, you may be prompted to launch Notepad++ in administrator mode since the "hosts" file is protected. If so, do the following:
- Click Yes to open the file in administrator mode.
- Click Yes when asked "Do you want to allow this app to make changes to your device?".
- Save the file.
Connect the Zune device
If you have a PIN code set up on your Zune device, enter the code to unlock the device.
Plug in your Zune device to your computer to automatically install the device driver. Then, open the Zune software.
- If you previously reset your Zune to its factory default settings, you will see a different screen that shows your Zune has a "Required Update". If this screen appears, click Accept. Once this process is finished, you can begin syncing your media to your Zune HD.
- If the music you have synced on your Zune device is stored on a cloud service (for example, OneDrive or Google Drive), you may see a window with the message "You haven't made a selection. Is this screen displayed correctly?" You can either wait until your music finishes downloading or you can cancel the files from being downloaded. After that, the Zune software will start from the initial setup screen.
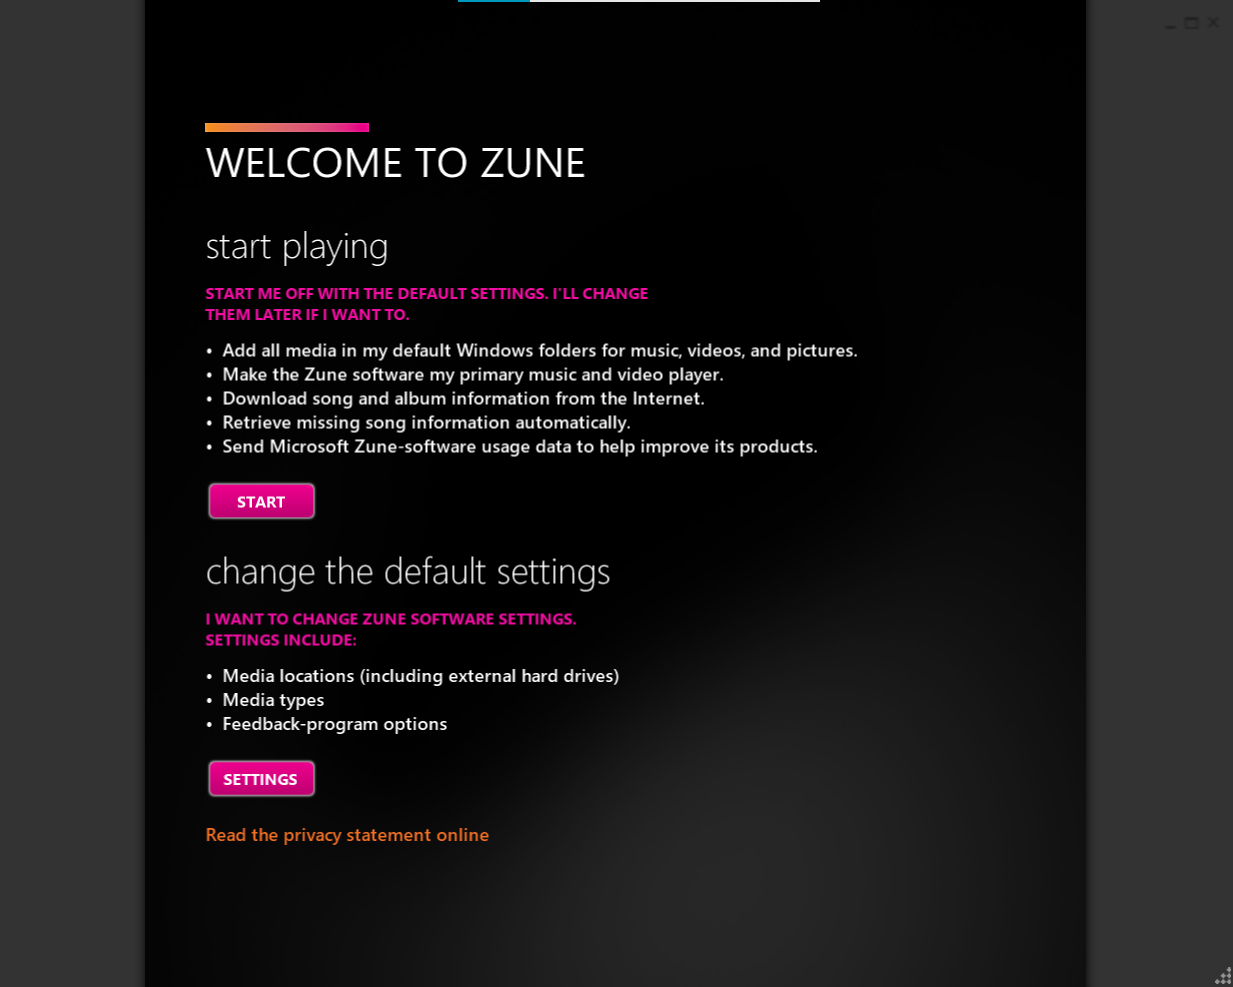
If you want to apply the default settings to the Zune software, click Start. Or, if you want to change the default settings, click Settings, then follow the screens in the setup wizard.
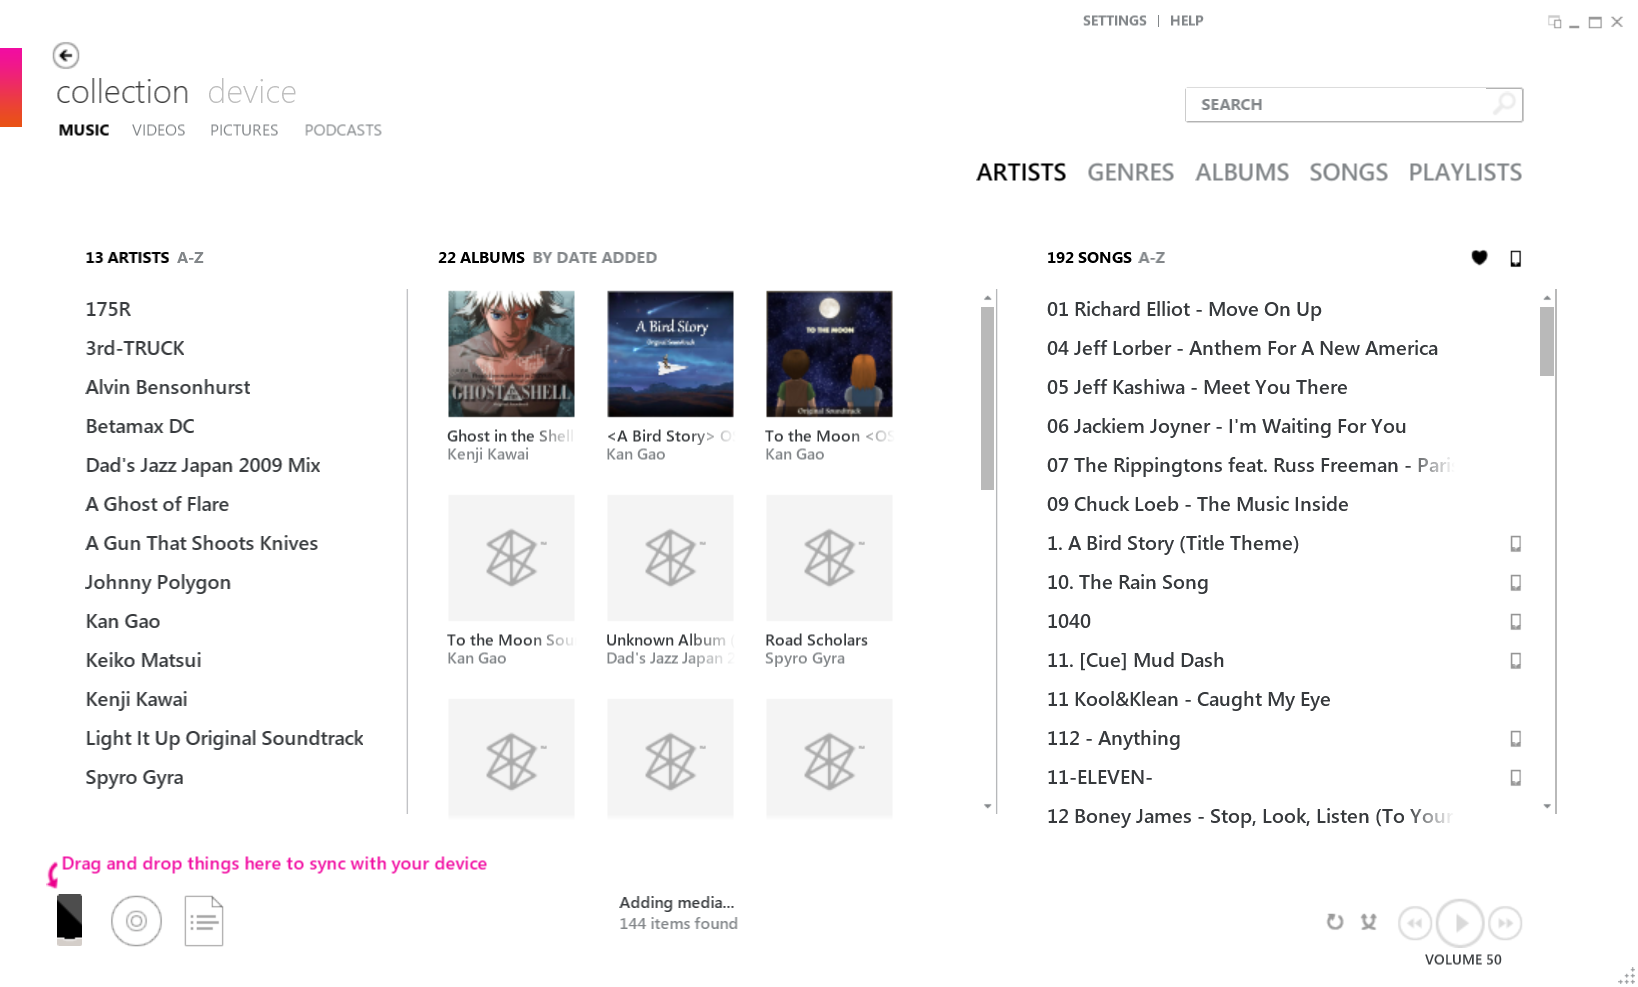
You've now finished installing the Zune software. If you have any music in the Zune software default folders or the folders that you chose in the setup wizard, those artists, albums, and songs will appear on the main screen.
If you want to choose different folders to sync with your Zune device, go to Settings in the Zune software. In Collection, you will see Windows Libraries where you can choose which folders to sync.